I bought a set of trashed Fat Fives off of this kid. They had all types of curb rash and deeeep scratches and nicks. Well I saw it as an opportunity to make out on a deal so I searched the threads in and out and found a writeup on Honda Tech on restoring aluminum rims so I went for it knowing that I had nothing to lose with these "heaps" lol. I attempted a few weeks ago but kind of half assed so I took advantage of the weather this past weekend and did them the right way. Some of the damage is extensive to the point where it couldn't be repaired with my supplies like the baaaad curb rash. I've only completed 2 so far but I only have a pic of one, I'll try to get a pic of the second one tommorow but here they are....
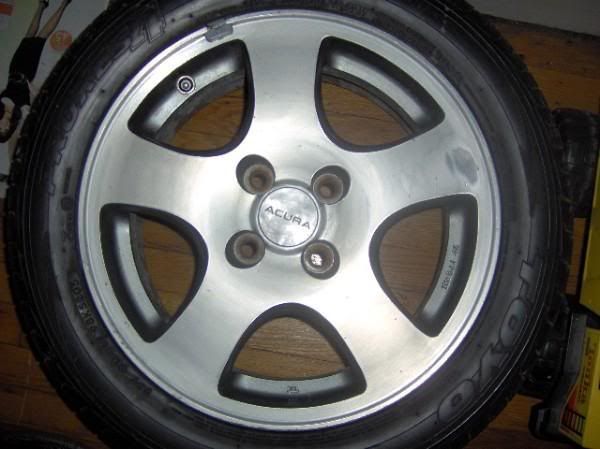
HERE IS A PICTURE OF ONE OF THE RIMS AFTER ONE OF THE STAGES OF WETSANDING (YOU CAN'T SEE SOME OF THE DETAILED SCRATCHES AND NICKS)

THIS WAS THE FINISHED HALF ASSED PRODUCT

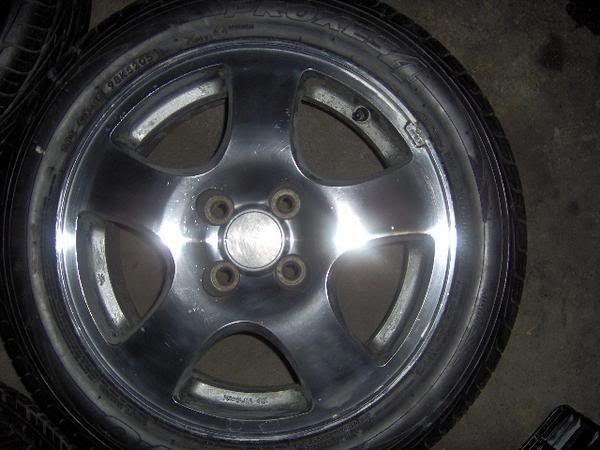
THIS IS A PICTURE OF THE FIRST RIM I RE DID THE RIGHT WAY (TOOK FOUR HOURS PER RIM)

HERE IS ARE SOME PICS OF THE SECOND RIM WITH ONLY ONE COAT OF POLISH ON IT THIS ALSO IS THE ONE IS THE BAAAD CURB RASH**NOTE: THE FIRST TWO ARE IN NATRUAL LIGHT AND THE SECOND TWO ARE UNDER A LAMP


HERE IS A PICTURE OF ONE OF THE RIMS AFTER ONE OF THE STAGES OF WETSANDING (YOU CAN'T SEE SOME OF THE DETAILED SCRATCHES AND NICKS)

THIS WAS THE FINISHED HALF ASSED PRODUCT

THIS IS A PICTURE OF THE FIRST RIM I RE DID THE RIGHT WAY (TOOK FOUR HOURS PER RIM)

HERE IS ARE SOME PICS OF THE SECOND RIM WITH ONLY ONE COAT OF POLISH ON IT THIS ALSO IS THE ONE IS THE BAAAD CURB RASH**NOTE: THE FIRST TWO ARE IN NATRUAL LIGHT AND THE SECOND TWO ARE UNDER A LAMP


Comment